
Do you have a Lynda.com membership? I love taking courses on Lynda, no matter the course level, for inspiration. Sure enough, I was inspired by taking the course Prototyping UI Animations with Adobe Animate. I wanted to make an animation of my own and change up the graphics used. Except, on an iPad with other apps instead of a Mac. The two applications used to create the animation are Affinity Photo and Core Animator.

Are you ready to hear an overview of the process?
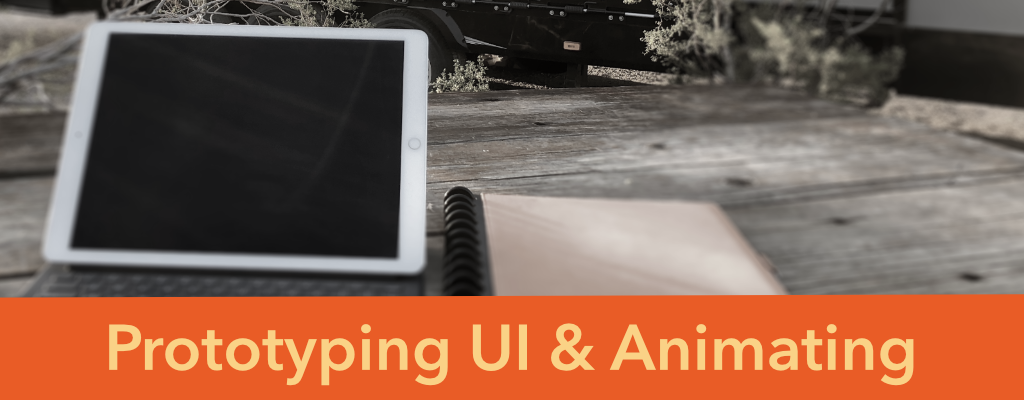
Prototyping the animation
First, I always start with the layout in a graphics program. Currently, the only program Affinity has for the iPad that will work with graphics is Photo. However, Affinity plans to release Designer soon. When they do, that should make this step easier. Learning to use Photo for vector-based work took a time, and in general, the workflow seems a little bulky compared to Illustrator. Nonetheless, it gets the job done and I really don’t notice the bulkiness anymore. One bonus in using Photo is that you have filters for your photos at hand – infinite creative options! In this example, I used a depth of field blurring filter on the background image and then created a series of two other looks (desaturated and white). Next, layer the white rectangle box, text, and other graphics.
It’s important to think in terms of what will move together at the same time. Elements moving together can be combined as a group in Photo, and that’ll be less to manage. Sometimes, however, the opposite happens. For instance, the first line of text has two separate movements. I had to break it up into two text elements vs just one.
Each moving group or individual elements need to be exported, one by one, either as a JPG image or as a PNG with a transparent background. Heads up: the native Photos app doesn’t show transparent backgrounds (like a gray checkerboard pattern) and that makes it is hard to distinguish one white element from another. Remember the export order! I usually export items in the same order they will appear on the screen in the animation to avoid confusion.
Animating the UI elements
Once all items are exported, move into Core Animator and bring in your elements. Animate. You are limited in the number of animation options compared to Apple Motion or Adobe Animate, but don’t let that stop you. Get to know the functionality of the app well and use your creativity within those parameters. Unless you’re making a 2+ minute commercial, this should meet 80% of your needs. For the remaining 20%, scale some of your ideas back or think about how you can use Affinity Photo differently. I won’t go into detail here, but I’ve used Photo for creating layer masks with shapes and this gives you one extra animated effect that’s popular right now. The workaround is not ideal and it’s limiting because you must have a solid background. This is an example of how thinking outside the box can take your 80% up to 90%.
Finally, export your animation as a video and share.
You may not be as comfortable working on an iPad, and that’s okay. Both of the apps mentioned have Mac versions as well. Use whatever devices puts you in a comfortable, creative space.
Check out these apps and see how you like them! Maybe you can create something fun this weekend.